

Ah, the end of the growing season. While it’s tempting to throw up your hands and take a winter-long break from gardening (which you deserve, with all the work you put in), there are a few last simple steps to take to put your garden to rest AND will improve your garden soil over the winter.
You can improve your garden soil over the winter by keeping roots in the ground, avoiding disturbing the soil, adding 1 or 2 inches of compost and other needed amendments, and covering garden beds with a cover crop or mulch.
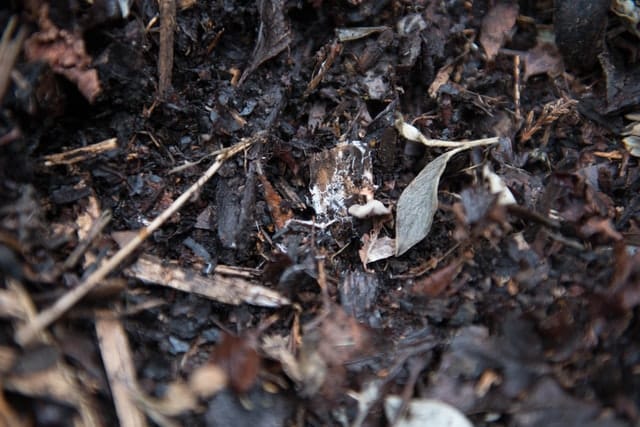
Should I Cover My Garden in the Winter?
Yes, you should definitely cover your garden in the winter. Covering your winter garden, whether with a cover crop or with a mulch, will:
- help protect the beneficial microbes, worms, and insects in the soil from the cold,
- keep soil from eroding from rain or snow runoff,
- suppress weeds in the early spring, and
- feed the soil throughout the winter so that nutrients are ready in the spring.
What Should I Cover My Garden With in the Winter?
You can cover your garden in the winter with:
- Mulch, including compost, leaves, wood chips and straw
- Compost
- Cover Crops
- Tarps (also known as plastic mulch)
- Cardboard
Ideally, you’ll either put down a 1 or 2-inch layer of compost and amendments, then cover with mulch, tarps, or cardboard, and/or grow a cover crop.
5 Ways to Improve Your Garden’s Soil Over the Winter
1. Keep roots in the ground and avoid disturbing the soil.
Plant roots, whether from a living or dead plant, hold the soil in place to prevent erosion. Decaying roots feeds microbes. So instead of pulling up annual vegetables by the root, cut off the stems and leave the roots in place.
You can also leave in place non-invasive weeds over the winter. By non-invasive, I mean that they won’t spread and take over your garden. Invasive or noxious weeds like bindweed should definitely be pulled up leaving no roots.
Avoid tilling the soil, which disrupts the microbiology, breaks up the roots holding the soil in place and exposes it all to the ravages of winter weather. Wait until spring or try no-till gardening.
2. Grow a winter-kill cover crop in annual garden and vegetable beds.
Cover crops are plants (usually grasses, grains, and legumes) that are sowed to cover bare soil, and not as an actual harvest. Cover crops have amazing benefits, including that their roots hold soil in place, they can act as a mulch as they compost, they add organic material to the soil, and they help control weeds, pests, and diseases. (Weeds can’t grow where something is already growing.) They also provide a habitat and protection for beneficial insects.
A winter-kill cover crop is killed off by frost. Sowed in late summer or autumn, the plant matter then stays in place over the winter and will have decayed by spring planting.
Other cover crops can survive the winter and start growing in the spring, which then needs to be killed by hand.
Whether a cover crop is winter-killed depends on your growing zone.
Cover crops include:
- Winter wheat or rye
- Oats
- Radishes
- Triticale
- Winter peas
- Clover
- Vetch
- Barley
- Buckwheat
Each cover crop has its advantages and disadvantages, with some helping to aerate the soil or add nitrogen. Do the research to find one that fits your soil needs.
3. Get your soil tested.

Soil tests will help you figure out if your soil is missing any nutrients. They’re best done in late summer or early fall, as your garden plants have taken up most of the needed nutrients for the year.
Choose one reliable test and use it every year. If you try to compare results from different tests, you’ll only get confused as the results differ because of different testing methods. Year over year changes are more important in these cases.
4. Add compost and natural amendments.
Get a head start on spring by adding compost and organic amendments. Over the winter, the microbiology will continue to break down organic matter into nutrients.
For compost, you could use homemade compost piles from yard scraps, manure compost, or trench composting. You could even just throw on any yard scraps (but not from vegetable plants, which can harbour pests and diseases through the winter).
1 or 2 inches of compost is enough to protect the microbiology while allowing the cold to kill off diseases and pests.
Avoid using synthetic fertilizers as they won’t last the winter. Compost is your friend, and better in the long-run for the microbiology in your soil.
Add other natural amendments depending on the results of the soil tests. Remember, too much of a nutrient can be as harmful as too little. Soil that had heavy feeder vegetables like tomatoes and spinach will generally benefit from added nitrogen.
A few natural amendments include kelp, seaweed, fish emulsion, blood meal, bone meal, eggshells, and wood ash.
5. Cover the soil with a mulch.
After adding compost and amendments, cover the soil with a mulch, whether it’s a plastic tarp, straw, wood chips, or leaves. The mulch will help protect the soil from the cold and help keep the compost in place from wind, rain, or snowmelt.
Mulches will also help prevent weeds from growing in the early spring. Covering perennial plants with mulch will also help them survive the winter, especially if the species originates in forests where they rely on leaf-cover through the winter.
6. Don’t waste fallen leaves.
Whether you use the fallen leaves as a mulch or put them in a compost pile, fallen leaves are a valuable FREE source of carbon. Don’t throw them away in the yard waste pickup. Use them as a mulch, as carbon in a compost pile, or bag them up and leave them for a year to make leaf mold.
Final Thoughts
For improving your garden soil over the winter, less is more. By doing a few simple tasks to nurture your soil, from keeping roots in the ground, adding compost, and covering with mulch, your garden will be ready to bloom come spring.

Jamie is the founder of The Backyard Pros. When he was 15 years old he started working at a garden centre helping people buy plants, gardening products, and lawn care products. He has real estate experience and he is a home owner. Jamie loves backyard projects, refinishing furniture, and enjoys sharing his knowledge online.